Elite Dangerous Mining Mechanics
Asteroids in Elite Dangerous are persistent objects. While this has gone through some changes it has been said that exploded asteroids need over 5 days to re-spawn. Other types of mining, such as Xiba’s Jewel, where players are exploiting a single asteroid in a particular system, there are some tricks to re-spawn it and multiple solo instances can exploit the same rock. This method seems to lock for a few hours if you leave the ring.
Regardless, the point is asteroids are not random things, and single asteroids can be found by other players if the proper cross reference is given, like with Xiba’s Jewel. Also, when it comes to mining, there is no advantage for anything less than A rated modules, so be sure to invest the credits and get the best.
Setting Your Fire Groups
Setting up the correct fire groups is important to efficiency and an enjoyable experience. There are many steps to mining and fumbling around for the right tool can be irritating, especially under fire. Regardless of what order you have them in, or which fire button, here are some recommended pairings.
- Discovery Scanner + Detailed Surface Scanner
- Pulse Wave + Prospector Limpet
- Seismic Charge + {your choice}
- Abrasion Laser + Collector Limpet
- Displacement Missile + Collector Limpet
- Mining Laser + Collector Limpet
Laser Mining
Laser mining represents the simplest form of mining. It entails coming up to an asteroid and shooting it with a special Mining Laser. This is under the module type of Mining Tools at stations that sell them.There is also little skill to laser mining but for proper positioning with the asteroid. Otherwise you need to make sure your weapons pips have enough allocated to power the laser (you’ll know if it doesn’t because your laser will stop working). When it comes to positioning yourself with an asteroid a good rule of thumb is to find the axis of rotation, and focus your mining laser beam at that point. This allows your collector limpets to collect the fragments while minimizing the chance they’ll get destroyed on the surface of the asteroid. If you mine the equator of the asteroid you can end up losing a lot of limpets.

Surface Deposit Mining
Surface Deposits are spots that can be targeted on the surface of the asteroid. These surface deposits must be hit with an Abrasion Laser (different that a Mining Laser) that removes the deposit from the surface to be picked up. Surface deposits happen on asteroids both exploded, as with Core Mining, or unexploded, as with laser or Subsurface Mining.
The Hardpoint placement of your Abrasion Blaster is important and will affect how you line up your targeting. You’ll also want to make sure that you have enough pips to weapons to keep it charged. Your Abrasion Blaster can also kill your limpets. Not a common issue, but can happen.
Subsurface Deposit Mining
This is where you fire a special drilling missile into a small opening on the asteroid.
Arguably the hardest form of mining, and also arguably the most rewarding. To be efficient you’ll likely have to do many things at once. You’ll need to try and match the rotation of the asteroid (ones that have no or slow rotation are much easier), you’ll need to have good aim and targeting to hit a small moving spot (Hardpoint placement matters here).
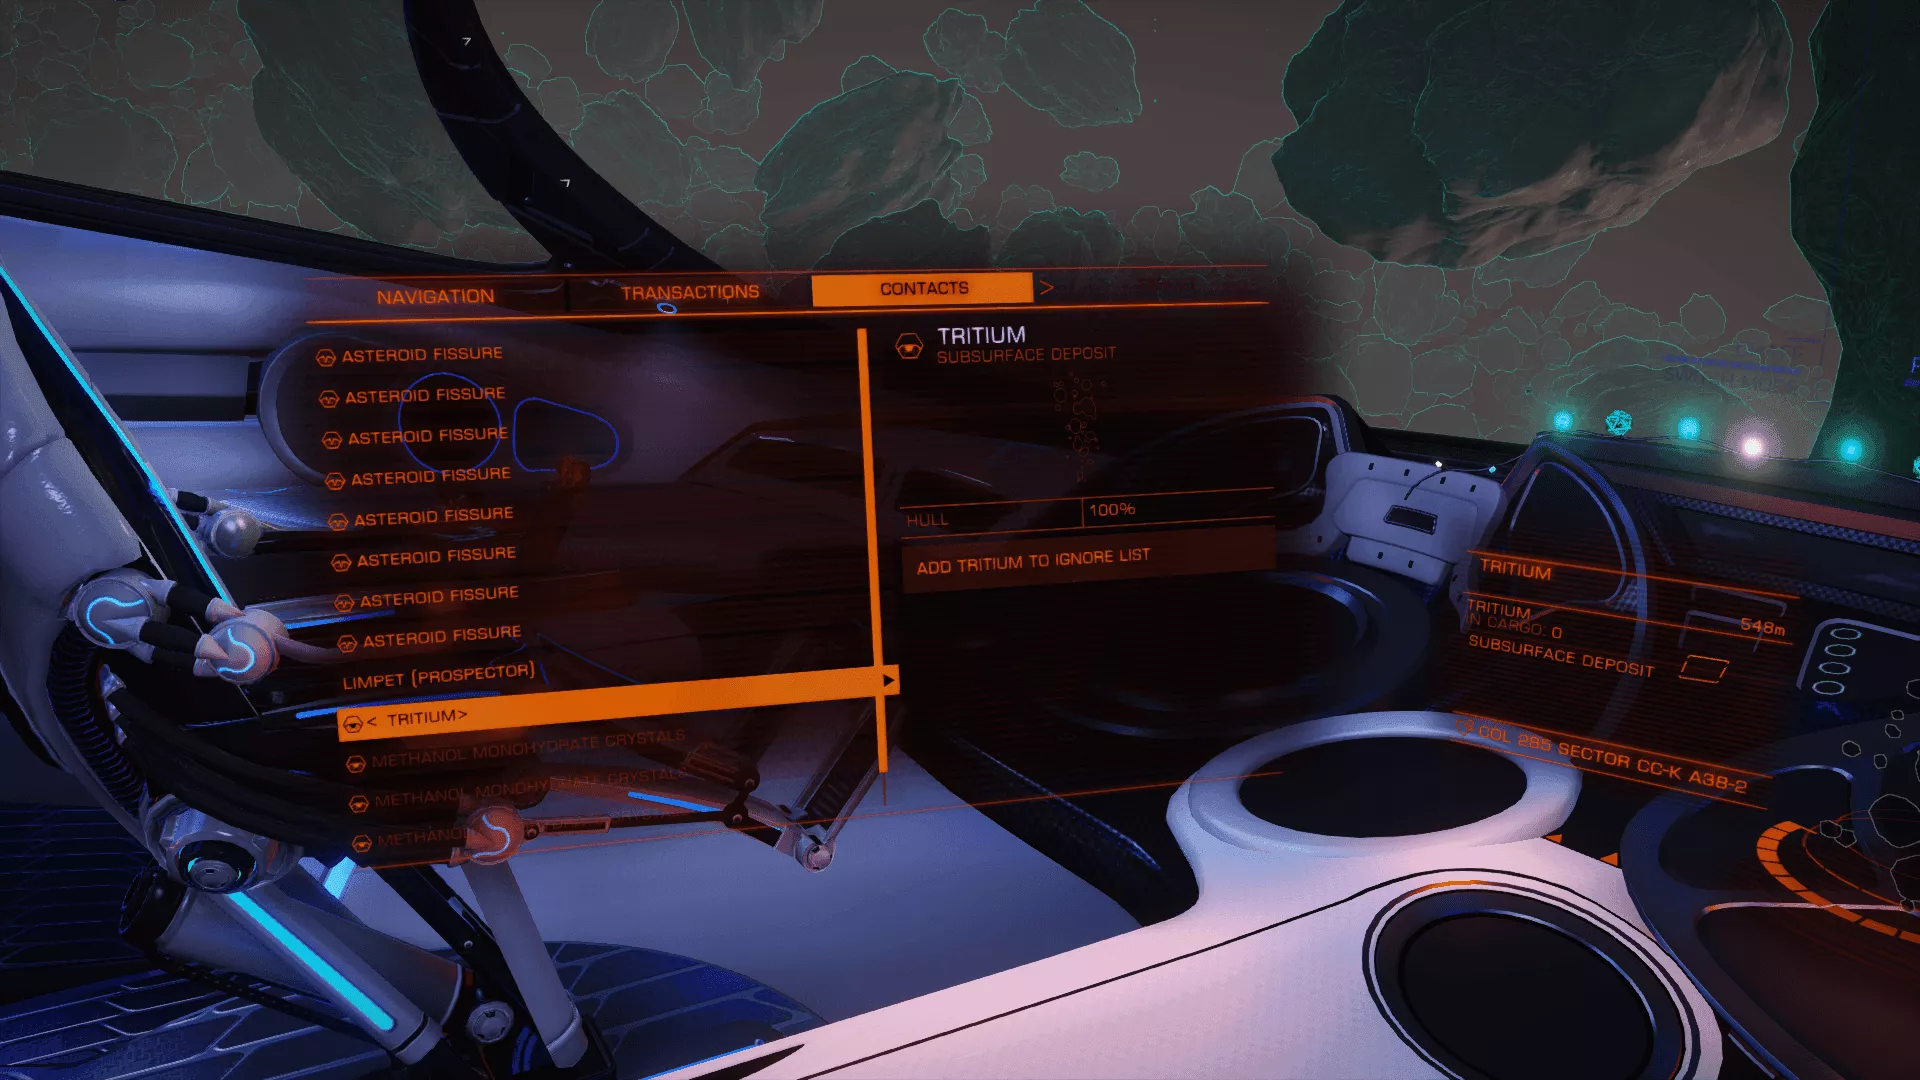
The below is an example of a Tritium Subsurface Deposit that will require the Displacement Missile to exploit.

If done correctly then you get to move on to the missile ‘drilling’ into the asteroid as you hold the fire button. The mechanic here is you hold down your fire button and release the fire button once you wish to detonate the explosive. A line travels from left to right, indicating the drilling effect of the missile. Blue areas tick by from right to left. The blue areas represent where fragments will be produced. The trick is to release the fire button so that the moving line (moving from left to right) matches up vertically with a blue area (moving from right to left). When this occurs you get fragments.

The reason this is tricky is because the line moving from left to right, representing the drilling effect, moves at different speeds. This speed corresponds to the Density Graph in the background of the chart the line moves over. This is to represent a drill going at different speeds through the rock as it encounters different densities. The higher the density the slower the movement of the line (because the drill slow down). The lower the density the faster. You have to try and guess the speed of the line and when to release so that is lines up on a blue area when you do.Subsurface Deposits before they go away.
In low density areas it is common to release too late, since the line (or the drilling) speeds up. In high density areas it is common to release too early. You have anywhere from 6-10ish shots with these
Core Mining
Core mining is when you use Seismic Charges strategically planted on exposed Fissures, revealed by Prospector Limpets. As mentioned earlier there is currently only one type of asteroid shape that will allow for Core Mining.
Fissures are cracks in the asteroid. If charges are placed correctly the asteroid will explode with many fragments, and many more surface deposits to shoot off with your Abrasion Blaster. The mechanic with Core Mining is how long to hold down the fire button as this charges the strength of the warhead, and which strength of Fissures to fire at.
You have different strengths of warheads that you control, and different strengths of Fissures that are inherent to the asteroid and discovered by the Prospector Limpet. The arrangement of Fissure Strengths and placements seems to be random. Also, once a warhead attaches to the asteroid you have a timer that starts giving you 120 seconds, or 2 minutes. For new players than can feel unnerving. Relax. You have more than enough time. When you get the hand of it then you'll find you have too much time and will proactively detonate the charges.
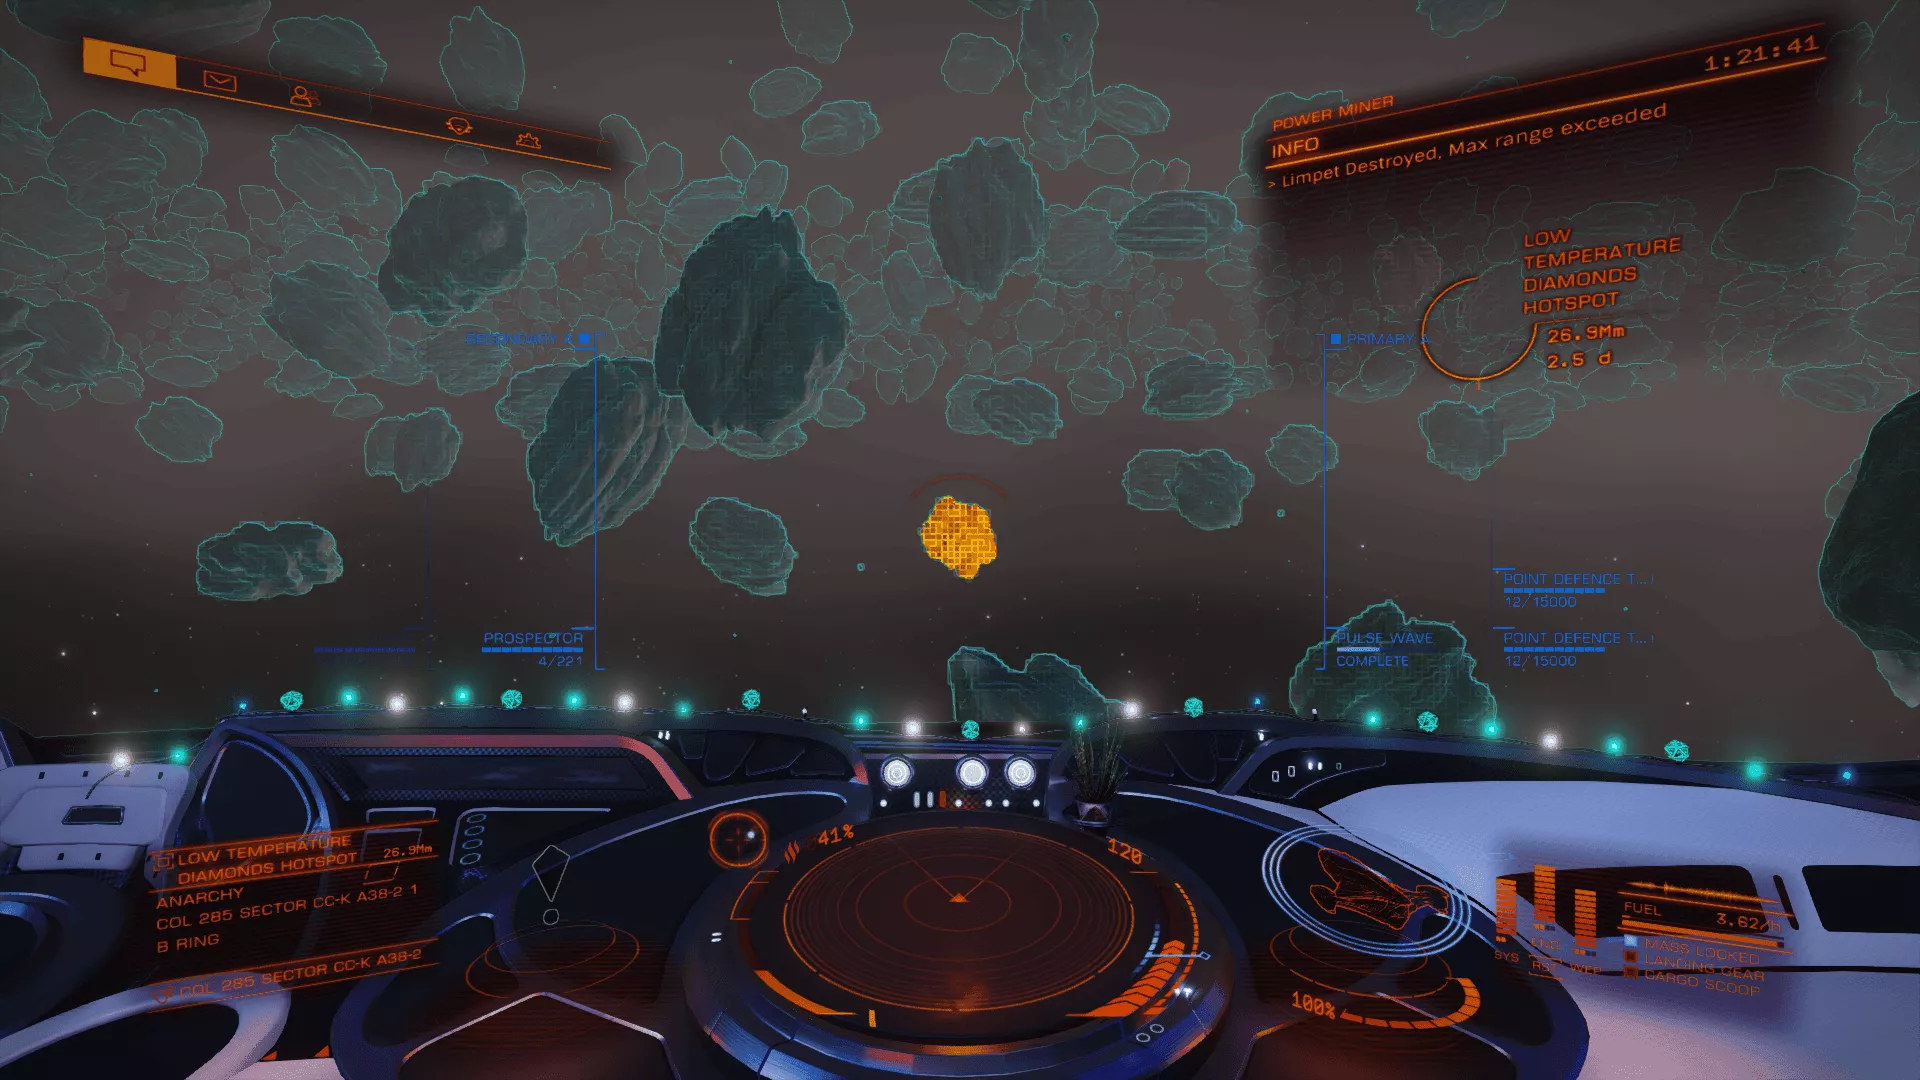
You first must find a Core asteroid with the deposit you want. This is done with the Pulse Wave Scanner.

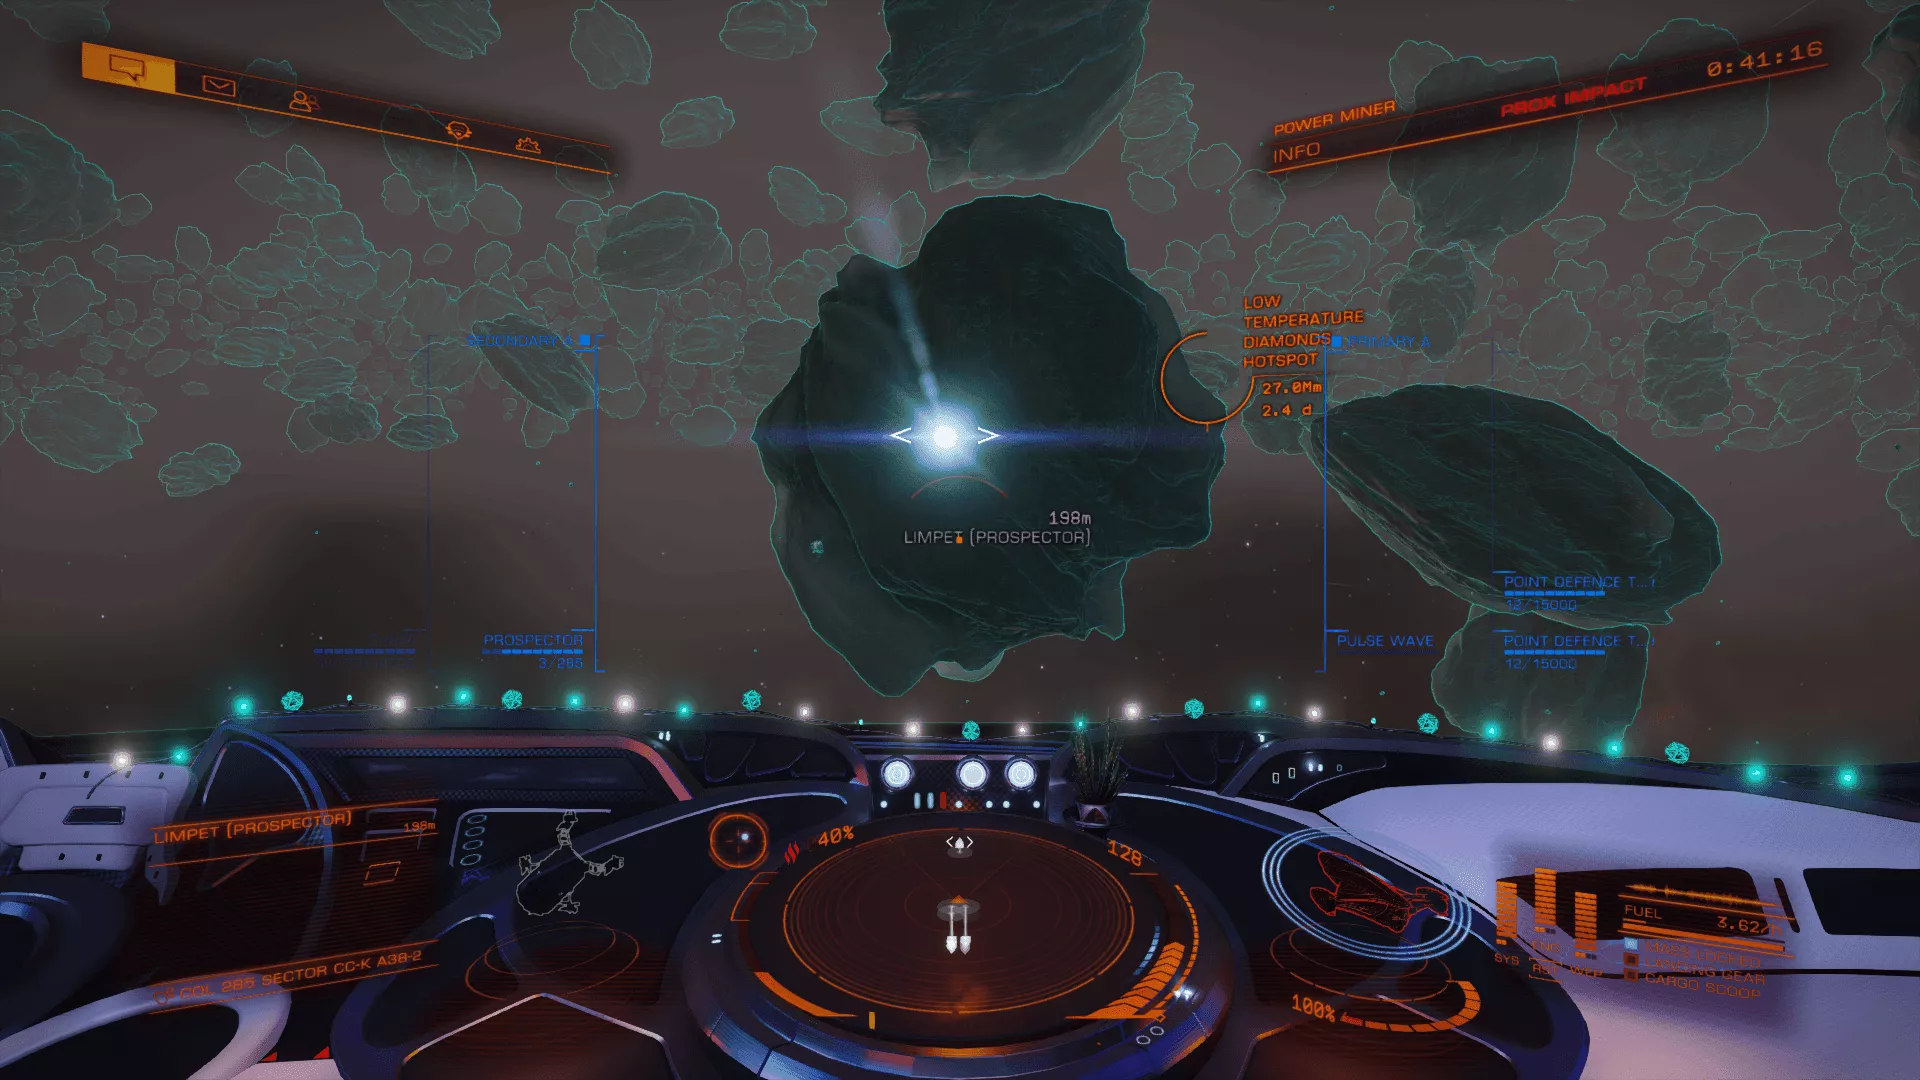
Then you fire Prospector Limpets to scan the asteroid.

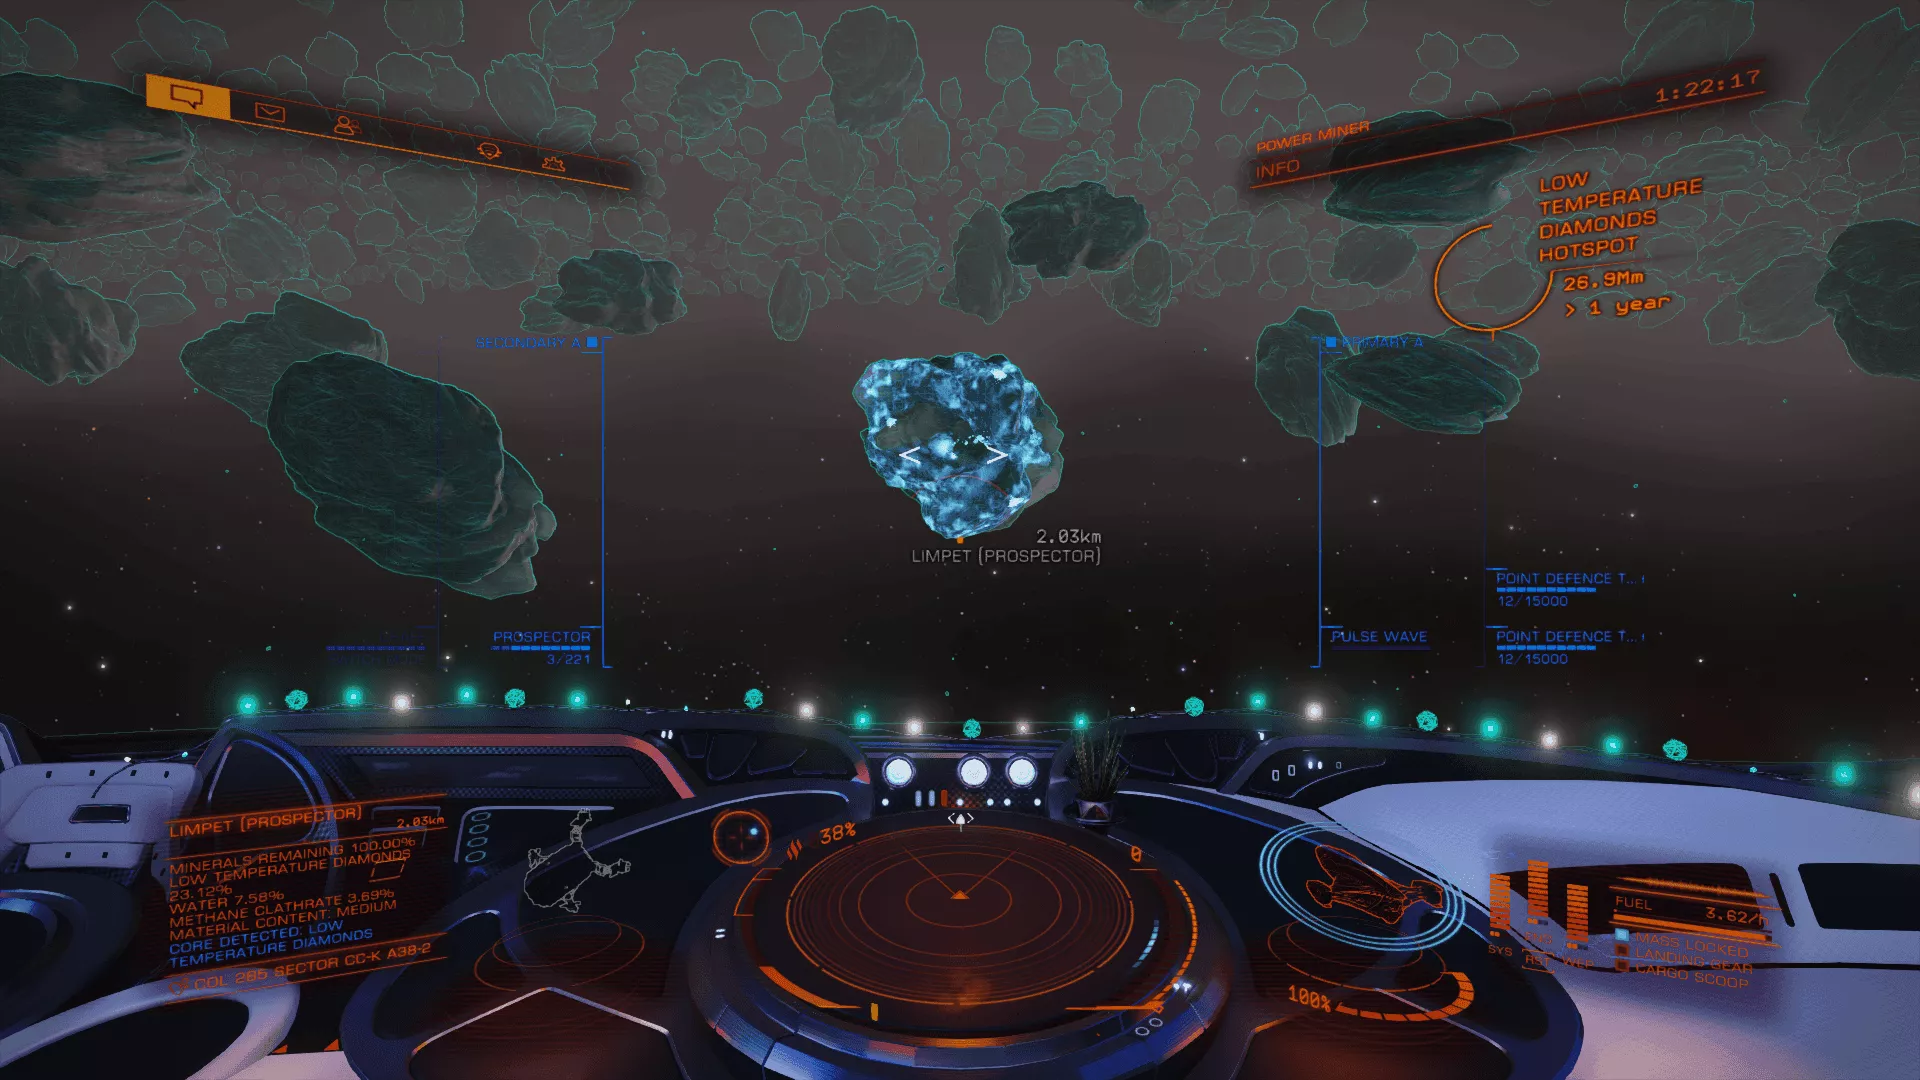
Once the Prospector Limpet engages you'll get a reading on your asteroid. Notice the bottom left hand area of the screenshot below. It indicates a Core is Detected and that it is Low Temperature Diamonds in this case.

The skill mechanic here is like hitting the optimal yield blue area with Subsurface Mining. It seems in Elite Dangerous blue things are goals and means optimal. As you place Seismic Charges a chart in the upper right corner will show you the yield output. If too low you won’t crack the asteroid which equals zero fragments. If you go too high into the red, you’ll crack the asteroid but get around 30% of what you should. If you hit the blue area then you have hit the Optimal Yield and will obtain the most fragments and surface deposits.

We need another charge at least to get it into the blue like below. You can see a few red dots. This is okay, so long as it says in blue below the detonation timer, Optimum Yield Range!

If you are under the Optimal Yield Range then you’ll have to keep placing Seismic Charges. If you go over you’ll have to either take the penalty of a reduced yield, or disarm a charge and try another Fissure. Keep in mind, when you disarm a charge it takes 10 seconds, and renders the Fissure useless. So you only really get 1 try per Fissure.
Finally once you reach the blue Optimal Yield area, GET AWAY from the asteroid. You have the option to Detonate Now in the Navigation Panel, which will then detonate in 10 seconds regardless of how much time remained. If you are too close, and/or don’t have sufficient shields you could be damaged or destroyed. 1000km seems to be a safe minimum distance.
Also, this type of mining is known to beat up your ship from hitting the large pieces of the now blown up asteroid. Shields are recommended, or a good nimble ship, or Elite pilot. You’ll likely have to do some maneuvering of your ship to properly line up shots with your Abrasion Blaster to shoot off Surface Deposit chunks.
Position with Core mining seems to be important with both ship damage and limpet efficiency. Limpets are weak drones and break easily. Try to keep line of sight with your fragments. If you see that a fragment is behind a large piece of asteroid, your limpet will have to fight the surface of that asteroid to get to the fragment and back to you. It is common for them to get destroyed on such a perilous journey. Keep a line of site and they typically make it back okay.
Additionally, be aware of what is “under you”, or more specifically make sure there is nothing obstructing your cargo hatch. If you have an asteroid piece rotating too close to your cargo hatch, or you unknowingly hoover just above it and all your limpets are dying, its because they are hitting that large obstacle while trying to enter your cargo hold. Simply move, and regain the line of sight.
General Rules for Seismic Charges:
Below we go over some general rules for how to best match warhead strength with Fissure Strength. In general you want to start with Low Strength Fissures, then Average, then High. The reason for this is two-fold.
- Easier control over the detonation yield. Notice you only have two lines that blue bars can live in. It is easy to go below, and go above, thus the challenge. Using Low Strengths fist fill up the lower yellow bars quicker. Then you have more forgiveness using a High Strength charge for the final "fine-tuned shot" than another Low Strength, where holding just a bit longer than you should will yield more detonation charge.
- Uses less Seismic Charges in the long run. You don't want to end up having to synthesis these, as they are expensive on material and you don't get many. This method will help preserve your charges.
Ice Mining Fissure Combinations
You have a total of eight (8) Fissures to work with. Assuming you have at least two Low Strength Fissures, typically (but not always) try two (2) 100% loads on seismic charges. This should be optimal. If not then find a High Strength Fissure and shoot at 50% or find an Average and shoot at 25%. If only another low exists then barely fire.
Assuming you have one Low Strength Fissure to with, use 100% on the Low Strength Fissure, 100% on an average, and 75% on a High Strength Fissure.
Assuming you only have no Low Strength Fissure then it typically works out with three (3) 100% Average Strength Fissures, or two (2) Average Strength Fissures at 100% and 1 High Strength at 75%.
- Low 100%
- Low 100%
- High 50%
Or
- Low 100%
- Average 100%
- High 75%
Or
- Average 100%
- Average 100%
- Average 100%
Or
- Average 100%
- Average 100%
- High 75%
For Rock Mining Fissure Combinations
- Low 100%
- Low 100%
- Average 50%
Or
- Average 100%
- High 100%
- High 100%
These are GUIDELINES and not rules. It is irritating when two (2) 100% Low Strength Fissures is too much for example, but can and does happen. You’ll have to disarm and retry another Fissure.
